

Monitor light bar for curved screen adoption is surging as remote workers and creatives shift to ultrawide displays, but fit, glare, and webcam integration are real stumbling blocks if you don’t choose carefully.
Key Takeaways
- Most “best-of” lists ignore clamp fit, glare problems, and webcam issues unique to curved/ultrawide monitors—these are the pitfalls that cause regret.
- Precise measurements, an understanding of beam angle, and clamp design are essential before you buy a monitor light bar for curved screens.
- If the bar’s beam shines on your panel, you move the glare problem closer—real solution is asymmetrical lighting aimed at the desk, not the display.
- 2024 snapshot — market growth and adoption you should care about
- Step-by-step decision guide for curved and ultrawide monitor owners
- Advanced analysis & common pitfalls: what to watch for before you buy
- Conclusion: fit first, glare second, features third
- FAQ: monitor light bars for curved and ultrawide screens
2024 snapshot — market growth and adoption you should care about
The monitor light bar for curved screen category is maturing rapidly. In 2024, global sales for monitor light bars surged roughly 22 percent year-over-year, with the market surpassing $1.4 billion. Among owners of ultrawide monitors, adoption reached about 31 percent in North America and 24 percent in Europe. What’s driving this? More people—like remote creatives and knowledge workers—are upgrading to large, curved, or ultrawide displays, and finding that standard desk lights create harsh glare or do nothing for actual workspace comfort.
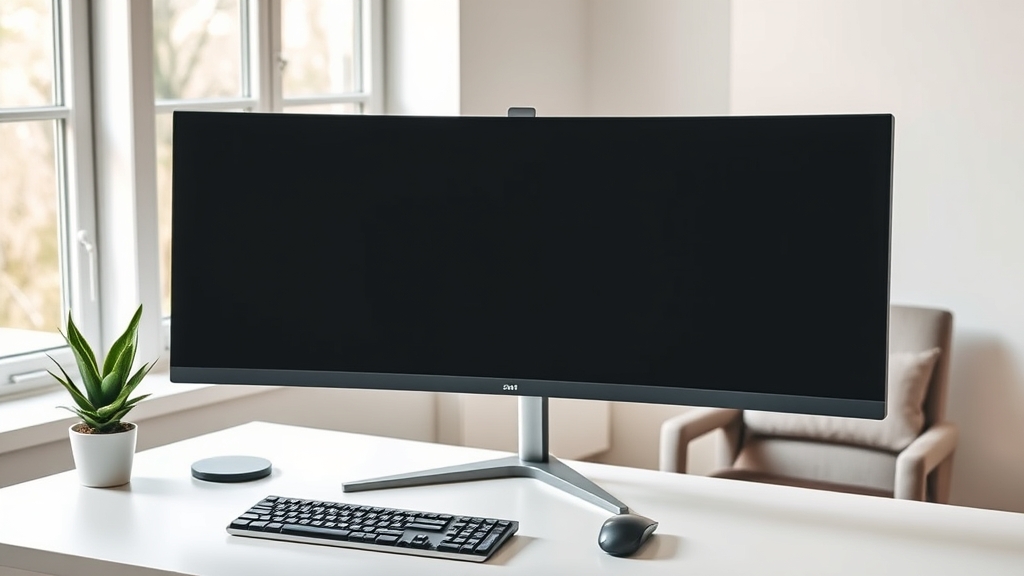
Manufacturers are now racing to design better screenbar for ultrawide monitor solutions tailored to thick, rounded monitor housings, solving the pain points—the wrong light bar can create glare, block your webcam, or just never sit straight.
Still, even in 2024, the tradeoff is top edge thickness. If you have a deep-curve gaming monitor or a 49-inch super ultrawide, the bar must accommodate the curve and let the beam rotate forward. The biggest regret? Buying a bar that doesn’t fit your monitor’s back or fires light straight at your screen instead of the desk.
Step-by-step decision guide for curved and ultrawide monitor owners
Choosing a monitor light bar for a curved screen takes a bit more prep than grabbing a “top-rated” model. Here’s a targeted process, with hard-won lessons built in.
- Start with your monitor’s shape and size: Identify if your panel has a deep (1500R or more) curve, thick top housing, or a webcam positioned close to the edge—these dictate fit.
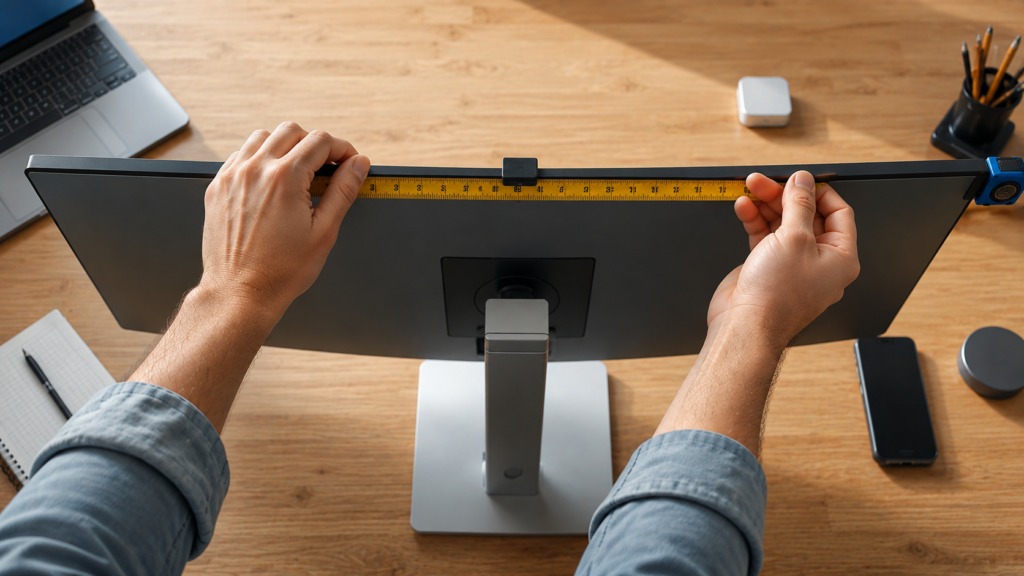
- Measure the top edge and check the bezel: Note the depth (front to back), curve profile, and space behind. Many bars with rigid clamps will not seat without wobble on rounded surfaces. Some models, like the BenQ Halo, use weighted pivot clamps to adapt to curves and thickness[2].
- Test for clearance and webcam alignment: Will the clamp or bar block your webcam? Slide a pen or rod across your monitor top to spot collision points. If your camera sits centered and close to the bezel, pick a bar that leaves space in front or shifts laterally.
- Decide on beam and glare management: The ideal screenbar for ultrawide monitor setups uses asymmetrical optics—light aimed toward your desk, not the display, with adjustable tilt. Avoid models with fixed beam direction. Industry guidance is clear: “If the beam hits the panel, you have not solved the problem; you have moved the glare source closer.”[3]
- Prioritize features for ergonomics: Look for color temperature control (for day and night comfort), smooth dimming, and (if needed) wireless pucks for quick adjustment. bias lighting can add bias light but should not substitute for task illumination.
- Shortlist compatible models only: Based on your above checks, search for bars made with adaptative or weighted pivot clamps and user reviews confirming fit on monitors matching your shape.
- Productivity tip: Check out how to pick the best ergonomic office chair for all-day comfort at your desk.
Only after passing these fit and feature checks should you compare prices—premium models such as BenQ’s Halo go the extra mile with asymmetrical optics, wireless controls, and double (front and back) lighting, but the main win is a secure, non-glary, and non-obstructive fit.
Decision Flow: Find Your Fit Before You Buy
- Does your monitor have a deep curve or extra-thick top? If yes, shortlist bars with weighted pivot clamps or curved-compatible adapters.
- Is your webcam centered and nearly flush with the bezel or mounted on top? If yes, ensure clamp and light bar design leaves at least 2cm clearance in front/above.
- Do you need accent backlight (bias lighting) or just glare-free desk/task lighting? If glare on your screen is still visible during mockup testing, move to a model with adjustable (asymmetrical) beam angle; backlight is a bonus for ambiance, not a solution for task lighting.
For more on picking ergonomic hardware, check out dual monitor arms for productivity and detailed monitor light bar buying tips.
Advanced analysis & common pitfalls: what to watch for before you buy
It’s not just clamp fit—pitfalls include glare, unstable mounting, and overlooked compatibility issues. Here’s where most buyers (and many “best-of” lists) go wrong:
- Clamp incompatibility: The most common regret, especially with rigid clamps on rounded/extra-thick monitor tops—leads to bars that tilt, scratch, or simply fall off. Some clamps squeeze too hard and can even change perceived screen color on LCDs[6].
- Incorrect beam alignment: A non-adjustable beam or a design not tailored for ultrawides frequently causes glare, screen hotspots, or even makes text harder to read.
- Webcam or sensor interference: Many bars block built-in webcams or create shadows right where you want your face on video calls. Always test mockup fit—especially if your camera sits centered above the display.
- Mounting instability: Monitor light bars for curved screens can slip or wobble when forced onto steeply curved backs—this defeats both comfort and safety.
- Lack of genuine ergonomic benefit: Many users look for eye-strain reduction. While anecdotal reports support perks like fewer visible reflections and improved webcam exposure when using asymmetrical bars, robust independent studies are still limited[3].
| Pitfall | Why It Happens | Solution / Feature Example |
|---|---|---|
| Clamp won’t fit thick/curved housing | Rigid or shallow clamp limits | Weighted pivot clamps (e.g. BenQ) |
| Beam shines directly on screen | Non-adjustable or symmetrical bar | Asymmetrical optics, adjustable angle (BenQ Halo, etc.) |
| Blocks webcam or ambient sensors | Wide bar or centered clamp; low clearance | Lateral adjustment, check webcam cut-out or placement |
| Mount wobbles/falls | Slippery, round monitor top | Weighted base, anti-slip pad, or clamp with grab range |
| No meaningful reduction in glare/eye strain | Beam still hits screen, not desk | Desk-oriented, asymmetrical beams (direct light away from screen) |
Reference: “If the beam hits the panel, you have not solved the problem; you have moved the glare source closer.”
- See related: top standing desk converters and ergonomic keyboards for wrist pain relief.
- Want more detail about healthy lighting? Compare options at BenQ’s comprehensive model comparison[4].
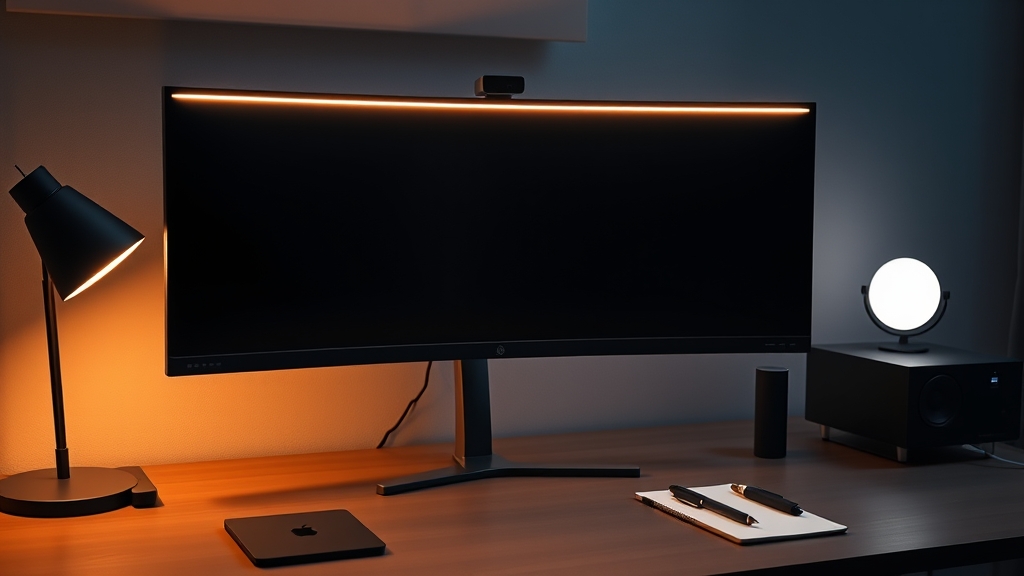
Buyer checklist:
- Measure monitor top thickness and curve profile.
- Check webcam and housing placement.
- Test with a cardboard/mockup before buying.
- Shortlist models with adjustable, asymmetrical light—never settle for fixed-beam bars.
- Red flag test: If light bar casts any visible beam onto your display, it’s not solving glare—keep searching.
Looking to round out your workspace? Read about ergonomic footrests for comfort and desk cable management tips for a streamlined setup.
Conclusion: fit first, glare second, features third
The right monitor light bar for curved screen makes a measurable difference in visibility, glare, and how you appear on calls. But even in 2024, fit and beam control trump every other feature. If you buy a screenbar for ultrawide monitor use based on generic recommendations, you risk wobble, annoying glare, and a blocked webcam. Instead, match your monitor’s geometry to the clamp and beam design, confirm the bar doesn’t light up your screen, and invest only after passing these checks.
Ready for a purchase that improves your workspace and makes video calls clearer? Use the checklist above and demand compatibility, not just features.
FAQ: monitor light bars for curved and ultrawide screens
Do all monitor light bars fit curved or ultrawide screens?
No. Many models are built for flat monitors and rigid clamp designs often fail to grip securely on a rounded or thick housing. Always check for a weighted or pivoting clamp—and confirm user reports of fit for your monitor’s model and size.
Can a light bar block my webcam or screen sensors?
Yes, especially if your webcam is placed at the center or flush with the top of the bezel. Pick a bar that leaves sufficient clearance or has an offset design. Some newer models offer adjustable clamp positions for this reason.
How important is asymmetrical or adjustable lighting for ultrawide/curved monitors?
Very important. Asymmetrical lighting lets you direct the beam toward your desk, reducing on-screen glare and hotspots. Models like BenQ Halo offer this on both front and rear, with wireless controls for fast adjustment.
Is bias lighting enough for eye comfort?
Not by itself. Bias lighting (glow behind the monitor) helps reduce contrast between screen and wall, but you still need direct desk/task lighting to see your keyboard, notebook, or controls comfortably.
Can clamping a light bar damage my monitor?
It can if the clamp grips too tightly or presses on sensitive bezels, especially with thin or flexible LCD panels. Test fit before final installation and look for models that distribute weight rather than squeeze hard.